
How to Fix Photos in the Wrong Lot
Review photo order and lot boundaries in aListEngine before creating draft listings from an import.
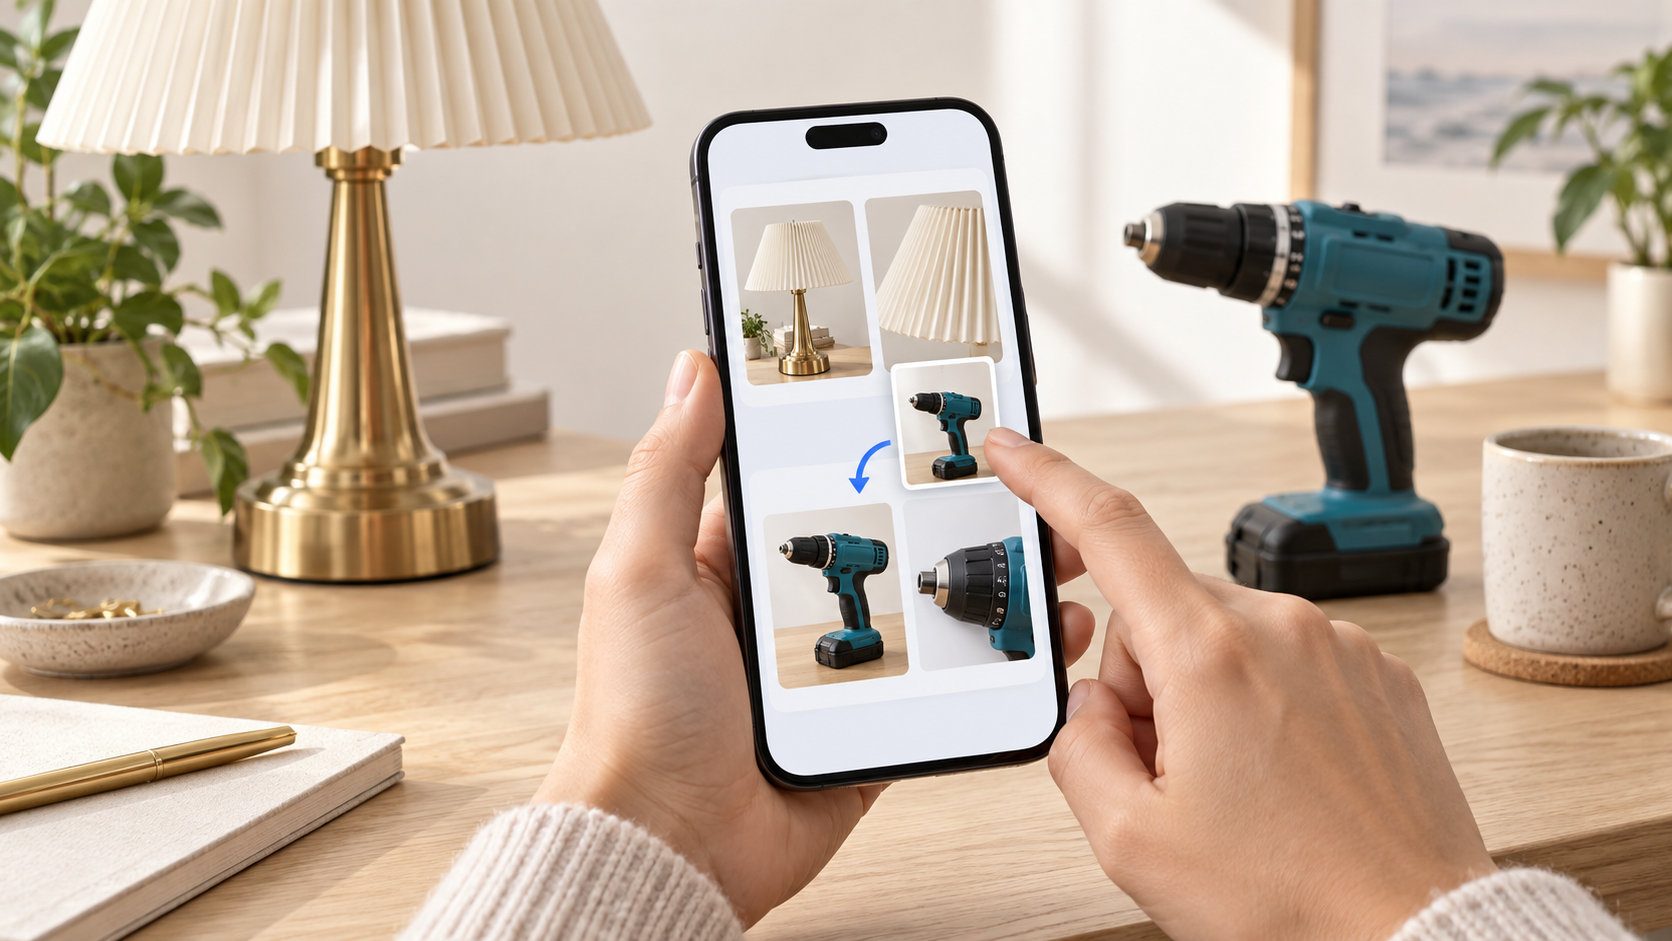
In this article
If a detail photo appears with the wrong item, check the photo order and the point where the next lot begins before creating listings.
1. Find the incorrect group
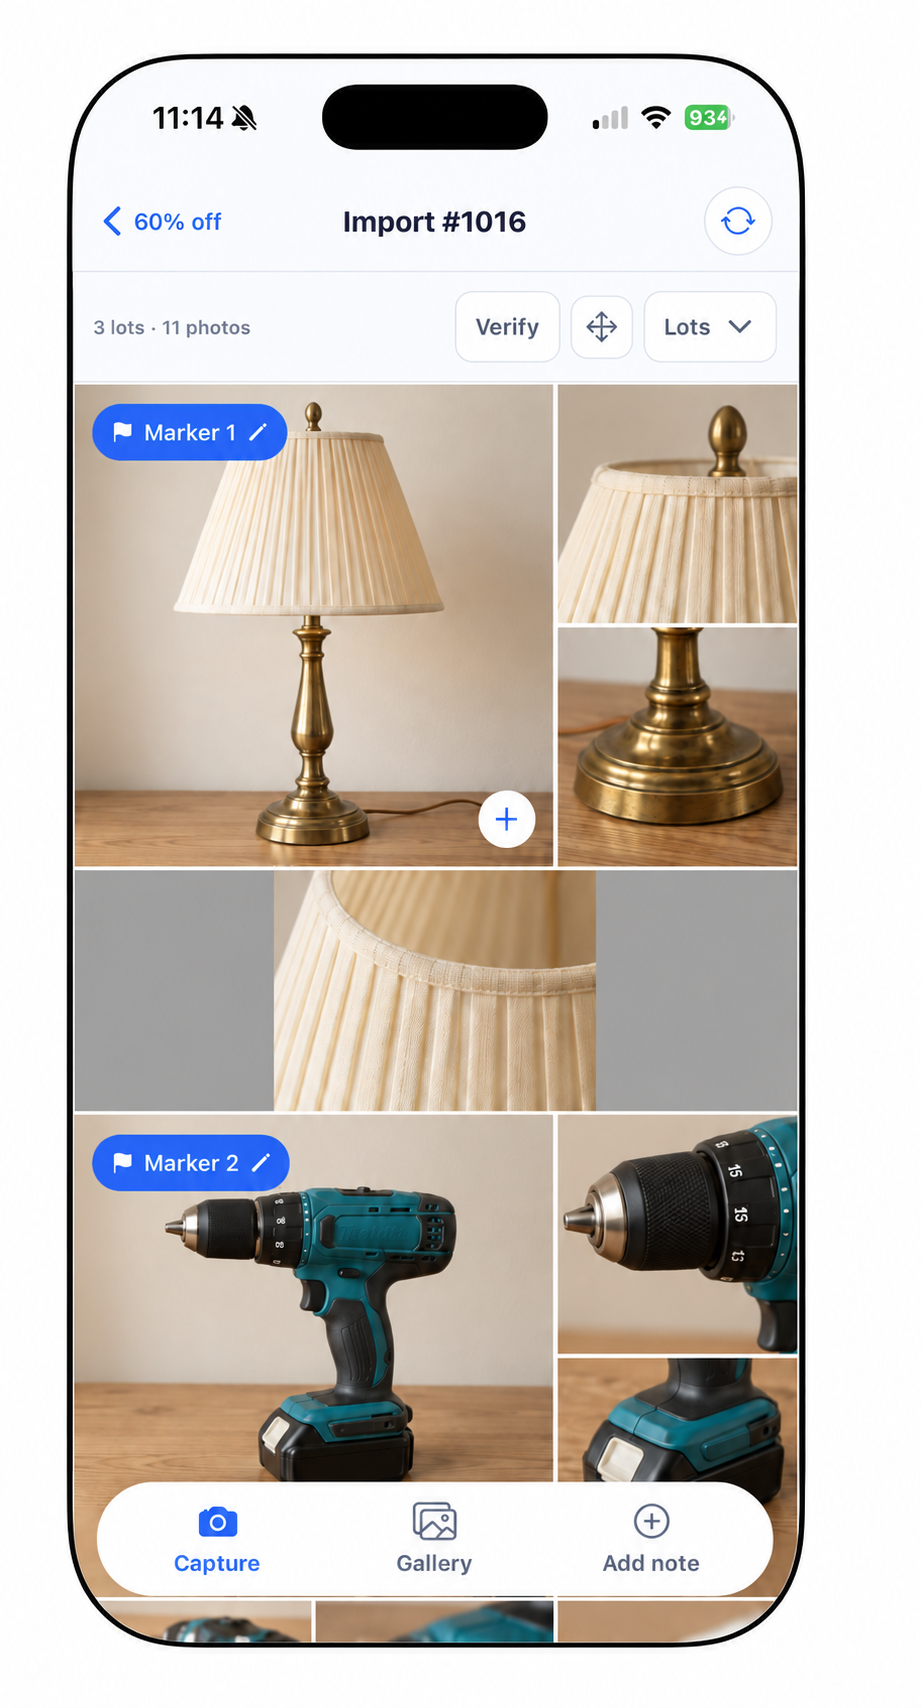
Check each group in the import. These are edited sample product photos.
Decide whether a photo is out of order or a new lot needs to begin earlier. Those are different corrections.
2. Fix the photo order
Tap the rearrange control, shown as arrows pointing in four directions near the top of the import. This opens Rearrange photos.
Follow the instruction at the top: smaller batches support a long press and drag; larger batches use a photo selection followed by a destination tap. In that mode, the selected photo moves before the destination photo.
Tap Done to save the order. A flagged photo carries its lot boundary when moved, so check the groups again afterward.
3. Start a lot at the correct photo
Long press a photo inside a lot that is not its first photo. In Photo options, choose Start new lot with this photo when the action is available.
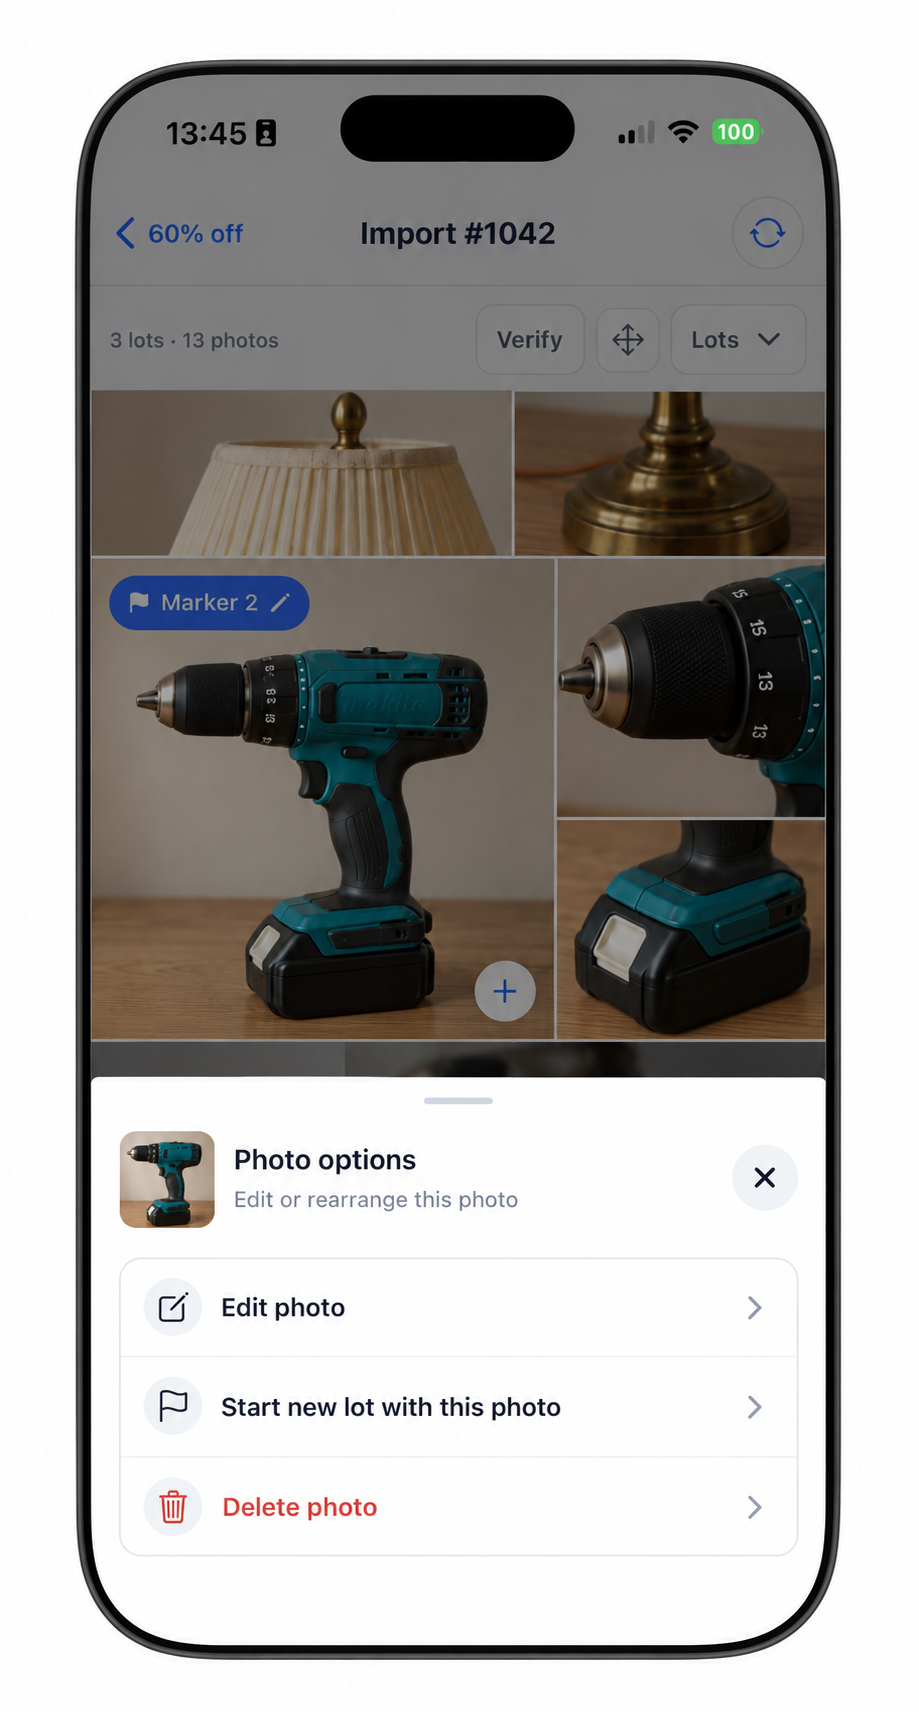
An ordinary photo has Start new lot with this photo. This menu differs from the options for a lot marker.
This creates a boundary at that photo. Check the resulting groups to make sure all detail shots stayed with the correct item.
4. Check the number and result
Long press a lot marker to open its Photo options. Use Edit lot number to correct the number. Changing a number does not rearrange the photos.
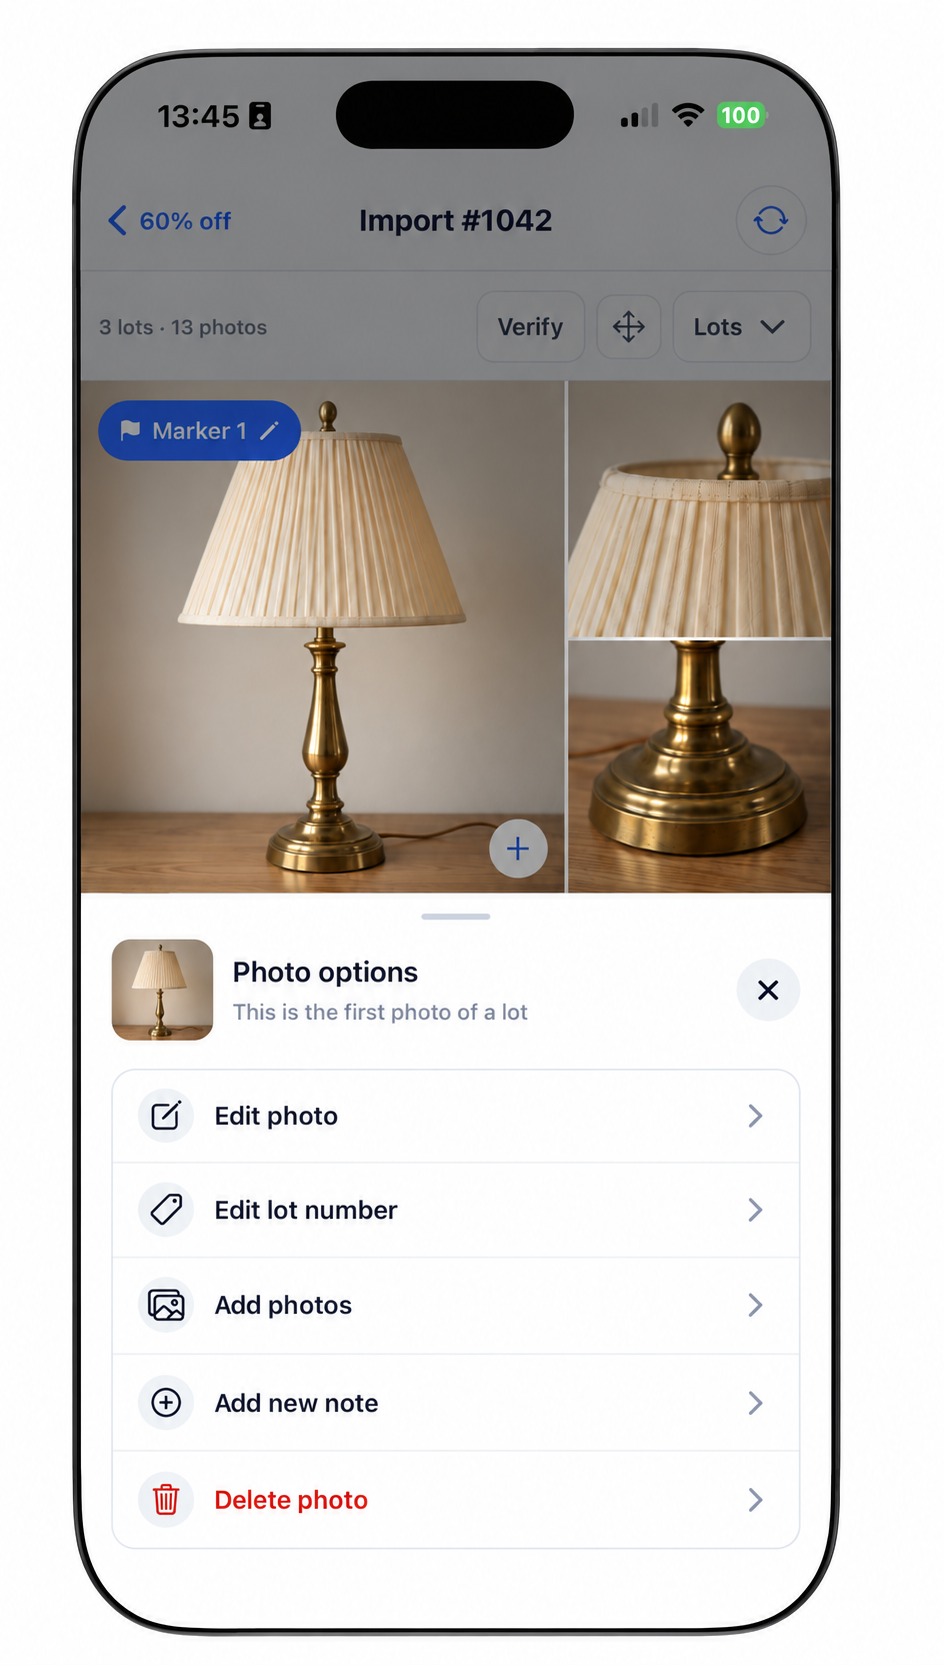
First lot: the menu says This is the first photo of a lot and includes Edit lot number, Add photos, and Add new note.
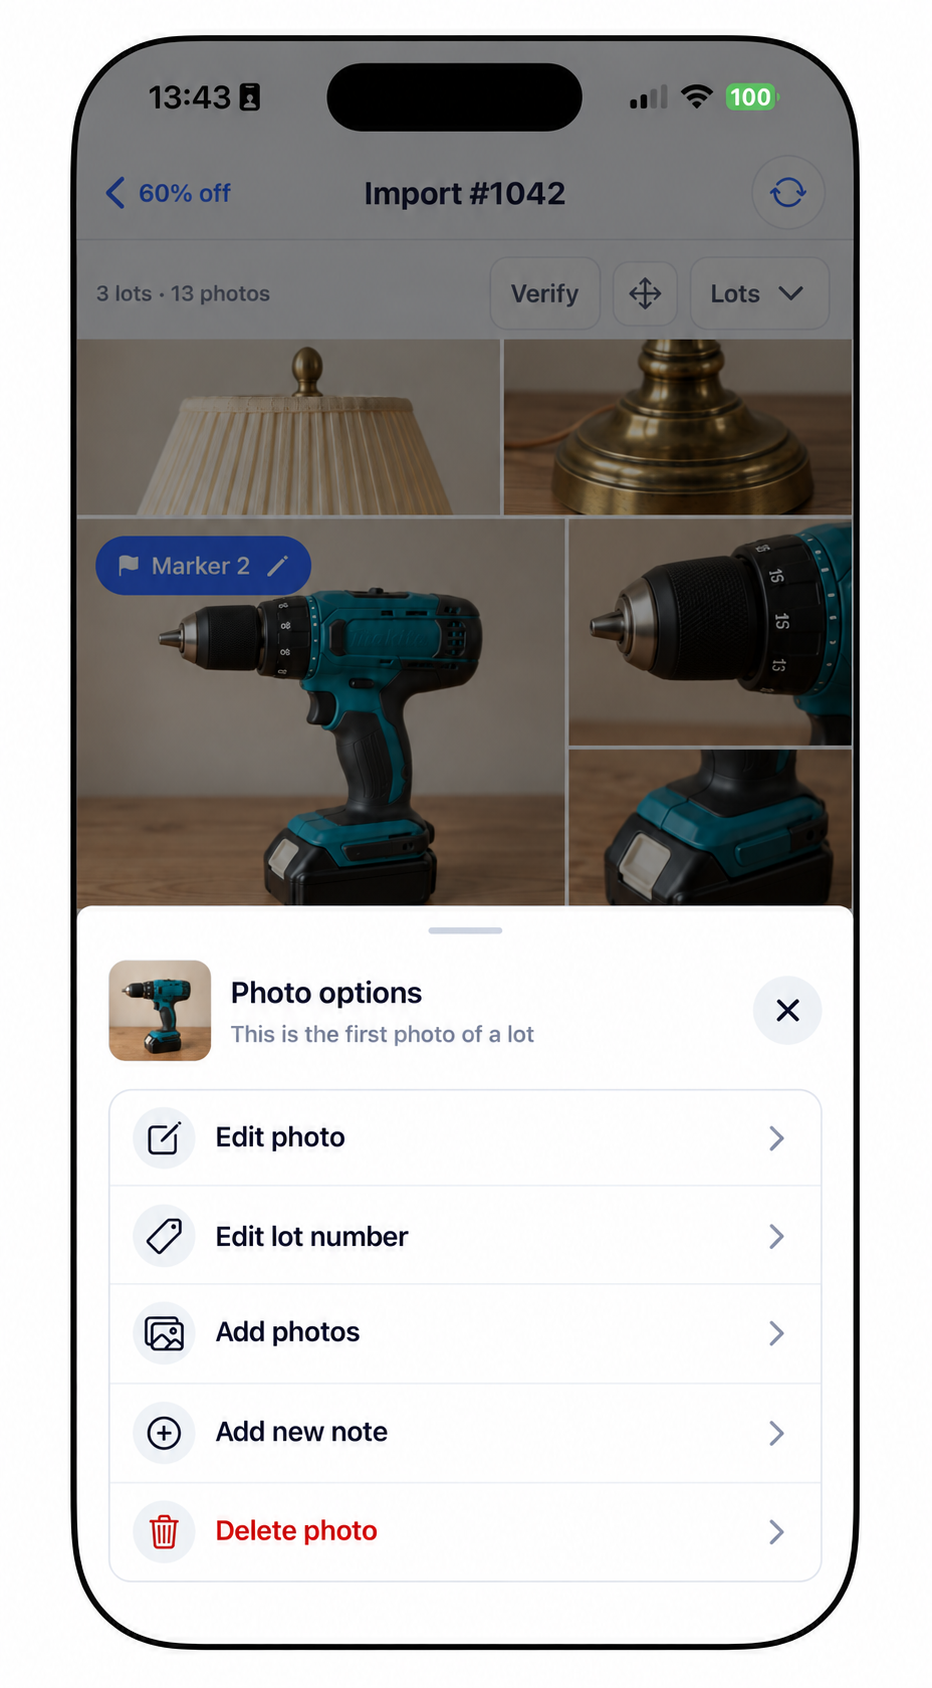
Later lot: Marker 2 shows the same actions. The difference is between a lot’s first photo and an ordinary photo, not between lot 1 and lot 2.
These screenshots use edited sample product photos.
Review the lot before and after your change, then sync the updated import before continuing on the web.
Good practice: correct the grouping before using Separate Lots on the web. Avoid deleting a useful photo just because it is in the wrong group.
Next: edit a photo or photograph one lot at a time.