
How to Photograph and Group Lots with the Mobile Camera
Photograph each lot, add useful notes, and check the groups before syncing your work to aListEngine.
In this article
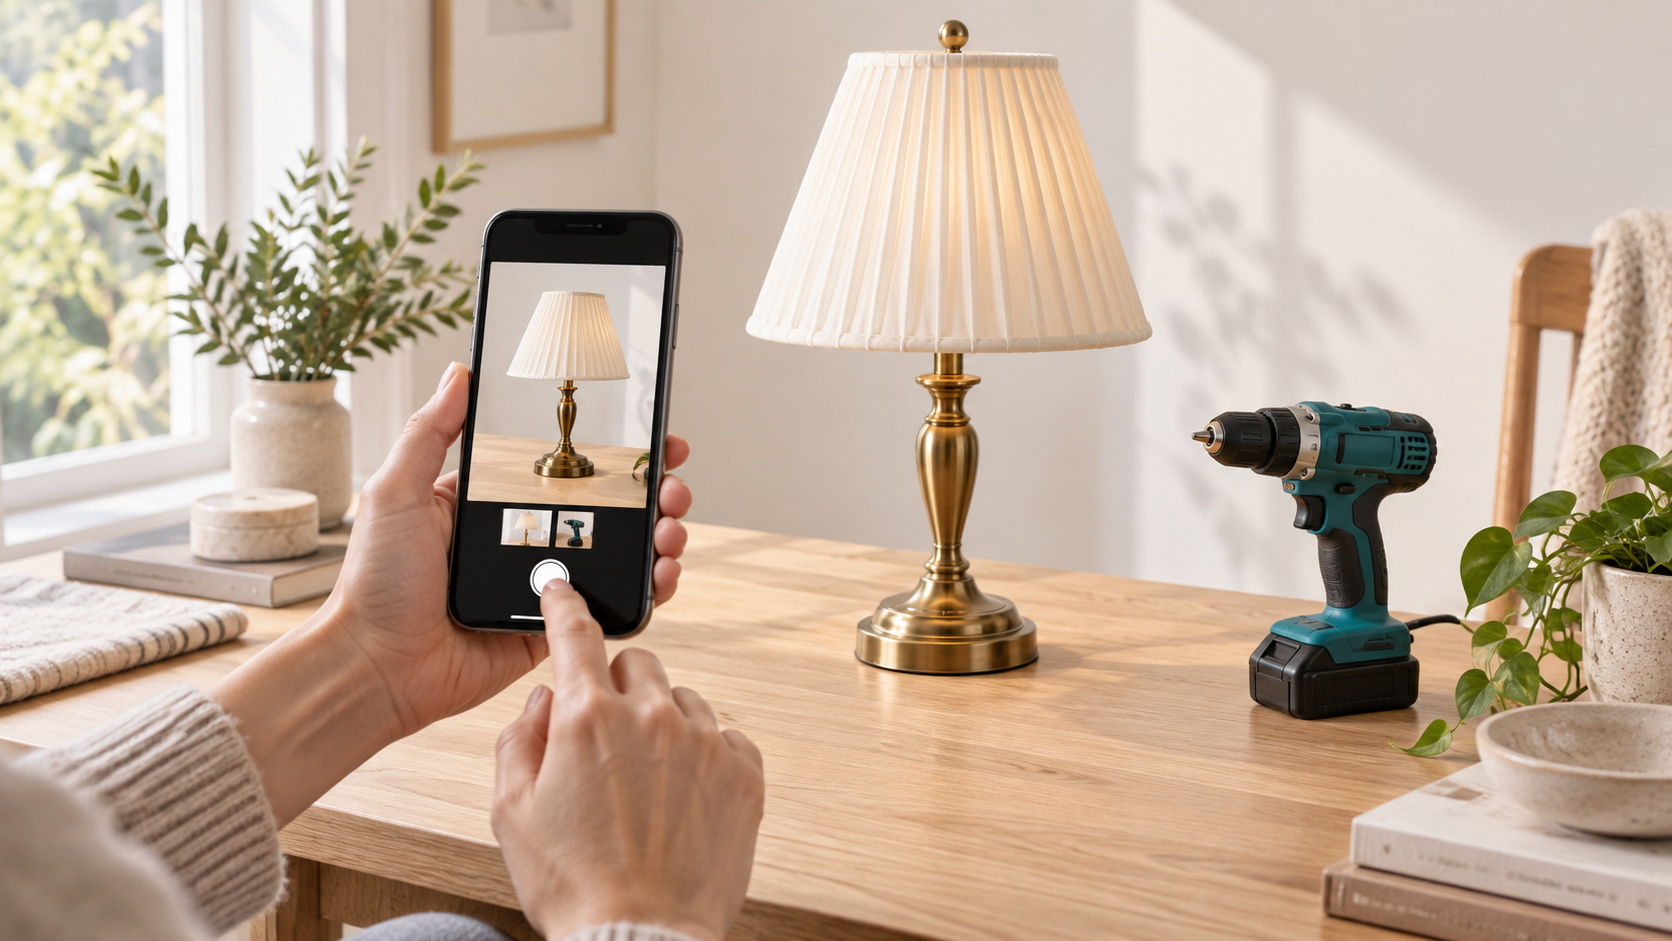
Photograph one selling unit at a time. Keep its overall view, detail shots, and notes together before moving to the next lot.
1. Open the right import
Open the folder and import for your session, then tap Capture. Check the destination before taking your first photo.
2. Take the overall photo first
Show everything the buyer receives. For a drill with a battery and charger, photograph all three together. For a pair of chairs sold as one lot, show both chairs.
Use steady lighting, keep the phone still, and wait for the photo to appear before continuing.
3. Add details and notes
Photograph maker’s marks, labels, accessories, and visible damage. Use Notes for facts the photos cannot explain, or Voice to record an observation.
Write what you know, such as “powers on; no further testing,” rather than guessing the condition.
4. Move to the next lot
Check the lot number when you use one. Wait for capture to finish, then tap Next when you start photographing a different selling unit.
Keep multiple views of the same item in the current lot. Before taking another photo, make sure you are working on the intended lot.
5. Review the groups
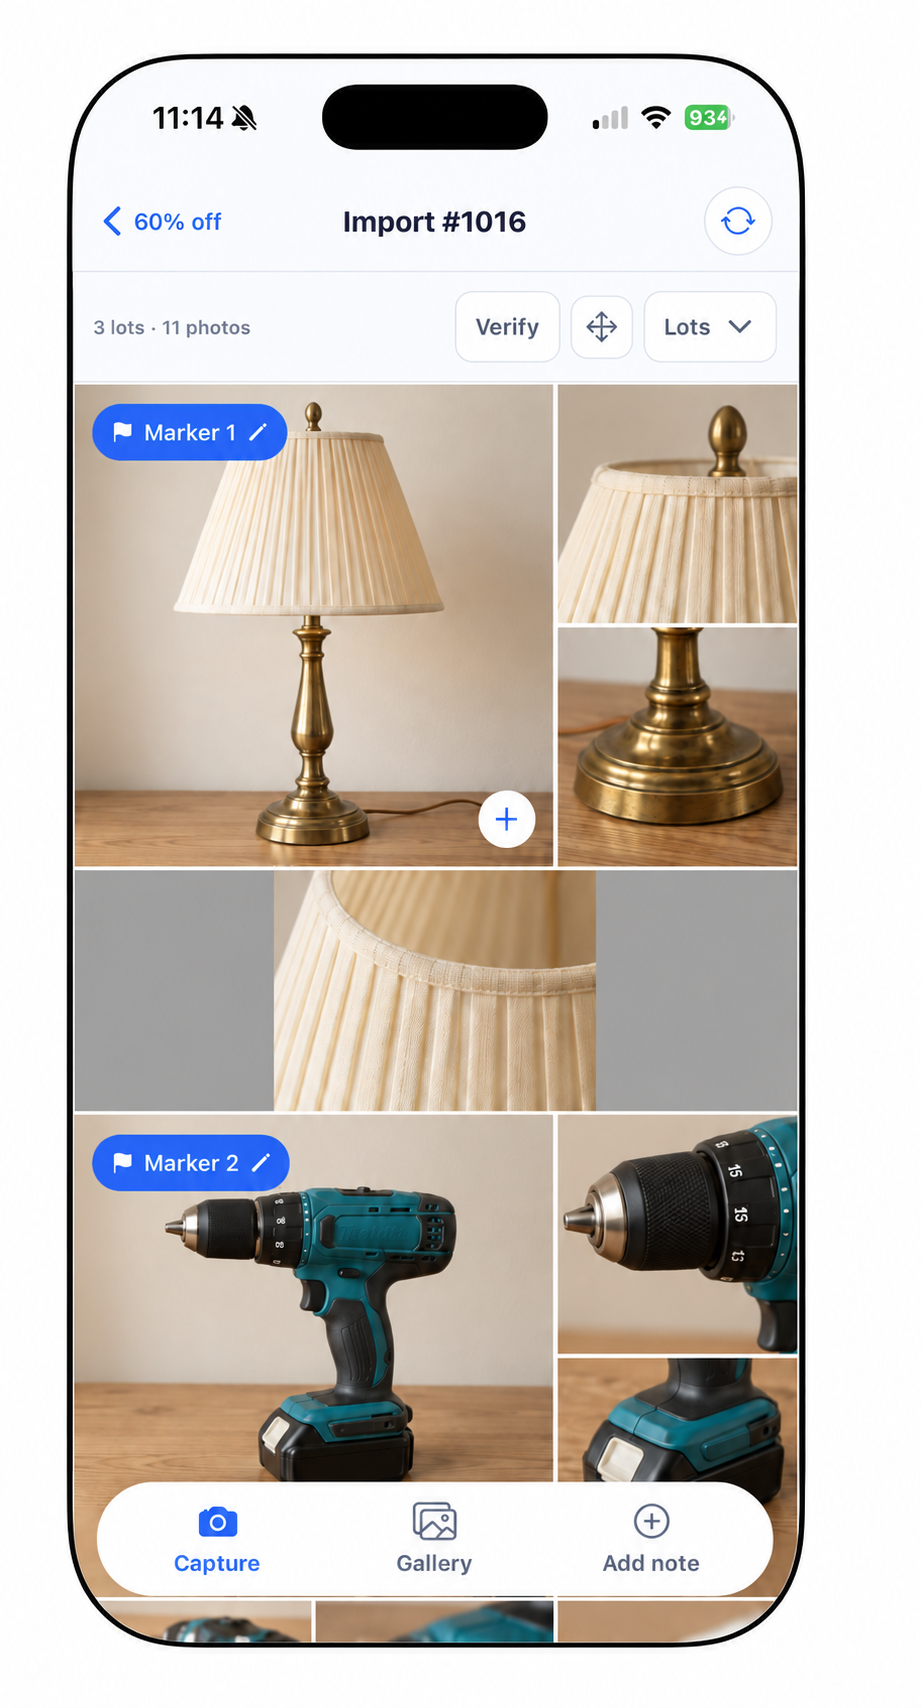
Example group view with edited sample product photos. Check which photos belong together before syncing.
Finish the camera session and open the import. Check the first and final lots, photo counts, and numbers.
Good practice: try two lots first and review them before photographing a whole room.
Next: choose how your photos sync.