
How to Publish Your Auction to HiBid from AuctionFlex 360
After importing your aListEngine catalog, check the auction setup, upload to HiBid, and review what bidders see.
In this article
Your aListEngine catalog has been imported into AuctionFlex 360. Now you need to check the sale setup and send the auction to HiBid, where bidders will see it.
This guide starts after the catalog import. If your lots or photos are still in aListEngine, first follow How to Import aListEngine Listings and Photos into AuctionFlex 360.
1. Confirm the catalog is complete
In AuctionFlex 360, compare the imported lot list with the sale you prepared. Open several lots, including one with multiple photos and one with several items sold together.
For the Maple Grove example, expect lot 101 for the lamp, 102 for the drill set, and 103 for the chair pair. Confirm that the two lamp photos stayed together and that both chairs appear in the same lot.
If you find a description error, correct the listing before continuing. Check measurements, condition, included pieces, and testing notes rather than relying only on the title.
2. Set the auction details
Review sale dates, terms, lot defaults, bidding type, time zone, opening and closing settings, and soft close. Check buyer’s premium and tax formulas on representative lots. AuctionFlex also lists payment setup and HiBid pairing in its auction upload checklist.
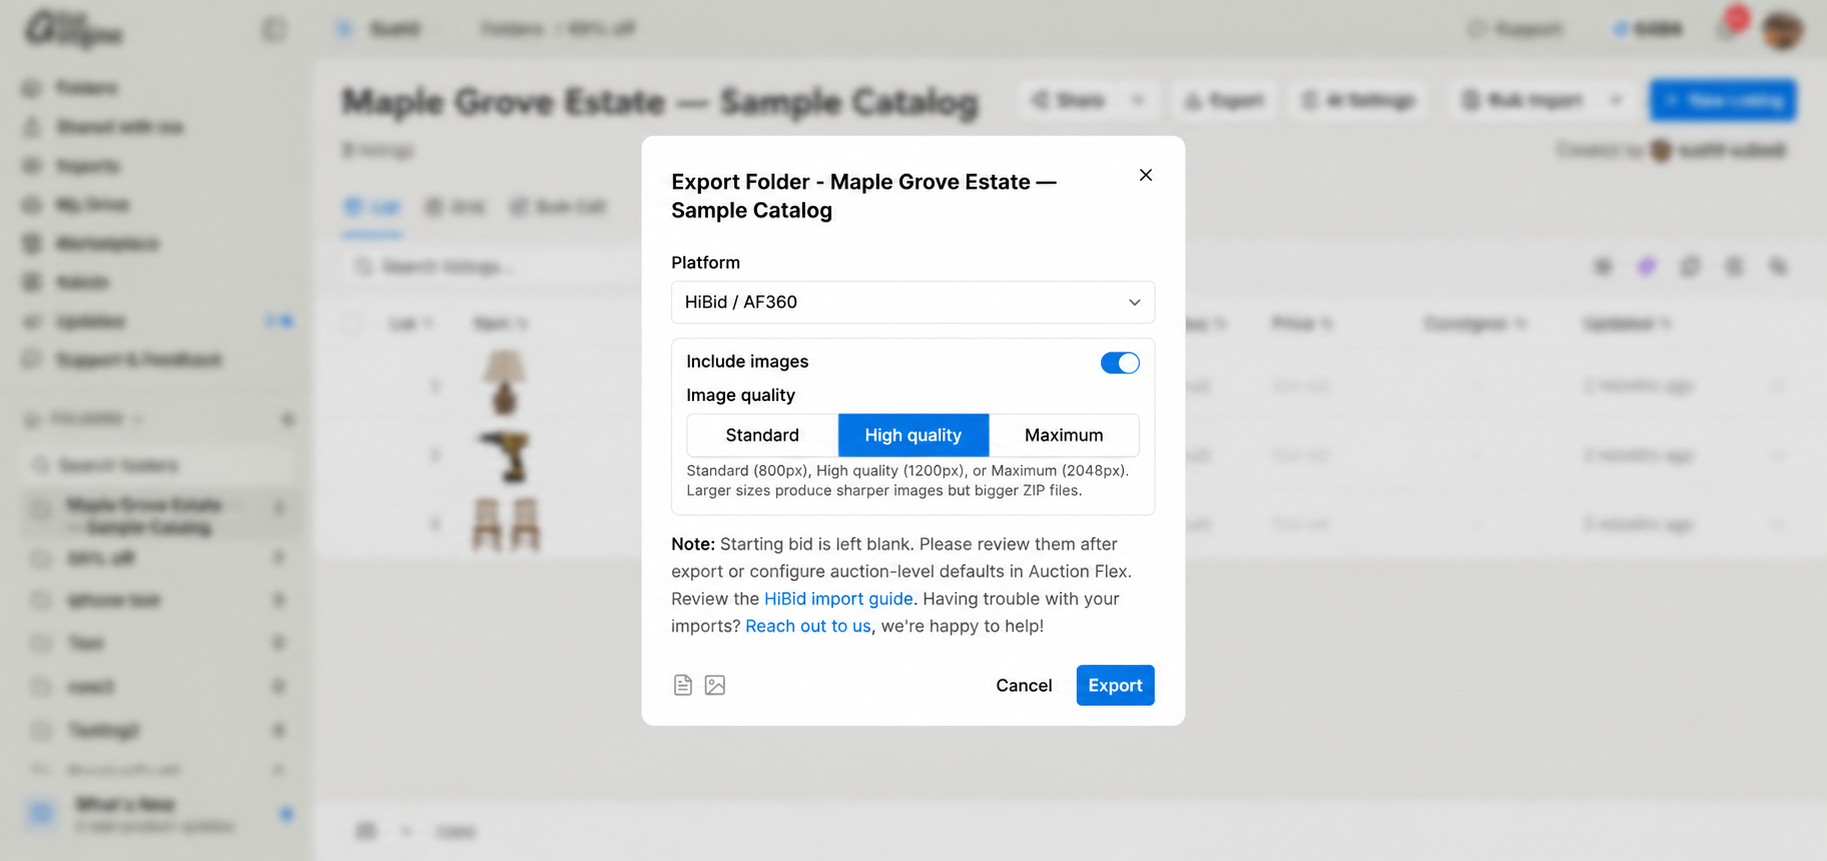
The HiBid / AF360 export from aListEngine leaves starting bids and reserves blank. Set those values in AuctionFlex 360 and check any defaults applied to the sale. Estimates are not the opening bid.
Keep pickup times and shipping instructions easy to find. A buyer should be able to decide whether they can collect or receive the item before bidding.
3. Check the HiBid connection
Confirm that your AuctionFlex 360 account is paired with the correct HiBid account. If this is your first sale, follow AuctionFlex 360’s connection instructions before trying to upload.
Do this setup ahead of your planned launch. It is separate from downloading the catalog in aListEngine.
4. Upload the auction
When your team is ready for bidders to see the sale:
- Open the auction in AuctionFlex 360.
- Select Auction Day.
- Choose Upload Auction at the top right.
These are the steps in AuctionFlex 360’s official HiBid upload guide. Its screenshots show where to find the controls.
Complete the upload and read any messages before leaving the page. This is the publishing stage of the workflow; exporting from aListEngine and importing the CSV were preparation steps.
5. Look at the sale as a bidder
Open the HiBid auction page on a computer and a phone. Check the first few lots, the final lot, and any lot you corrected during review.
- Does each title identify the item clearly?
- Do the photos show the correct item and included pieces?
- Are the descriptions complete and easy to read?
- Are dates, pickup details, and shipping information correct?
- Does the bidding setup match the sale you intended?
For the lamp example, inspect both photos. For the chair pair, make sure a buyer can tell that the lot includes two chairs.
6. Send later changes to HiBid
If you change a description, add photos, or adjust other lot information in AuctionFlex 360, return to Auction Day → Upload Auction to send the changes. Then check the HiBid page again. Official instructions for post-upload changes.
Changes made only in aListEngine are not automatically synchronized to the published auction. Keep track of where the final correction was made so your team does not work from an older version.
Why is the auction not visible yet?
Check whether the upload completed and whether the intended auction was selected. AuctionFlex says larger sales with many photos can take longer to appear. If a completed upload is still missing, contact AuctionFlex support with the auction details.
Do I need another export from aListEngine for every correction?
A correction made directly in AuctionFlex 360 can be sent through Upload Auction. If you rebuild the catalog from aListEngine, review the import settings and existing lots carefully before replacing data.