
How to Create Printable Auction Lot Labels
Create auction lot labels with numbers in order, add optional barcodes, and download a PDF for Avery 5960 or 2-inch square label sheets.
In this article
Good lot labels keep the item, photos, and catalog number together. With the free aListEngine Label Generator, choose the label sheet, enter your starting number, check the preview, and download a PDF.
Choose the label format and check the number range before downloading.
1. Choose the correct label sheet
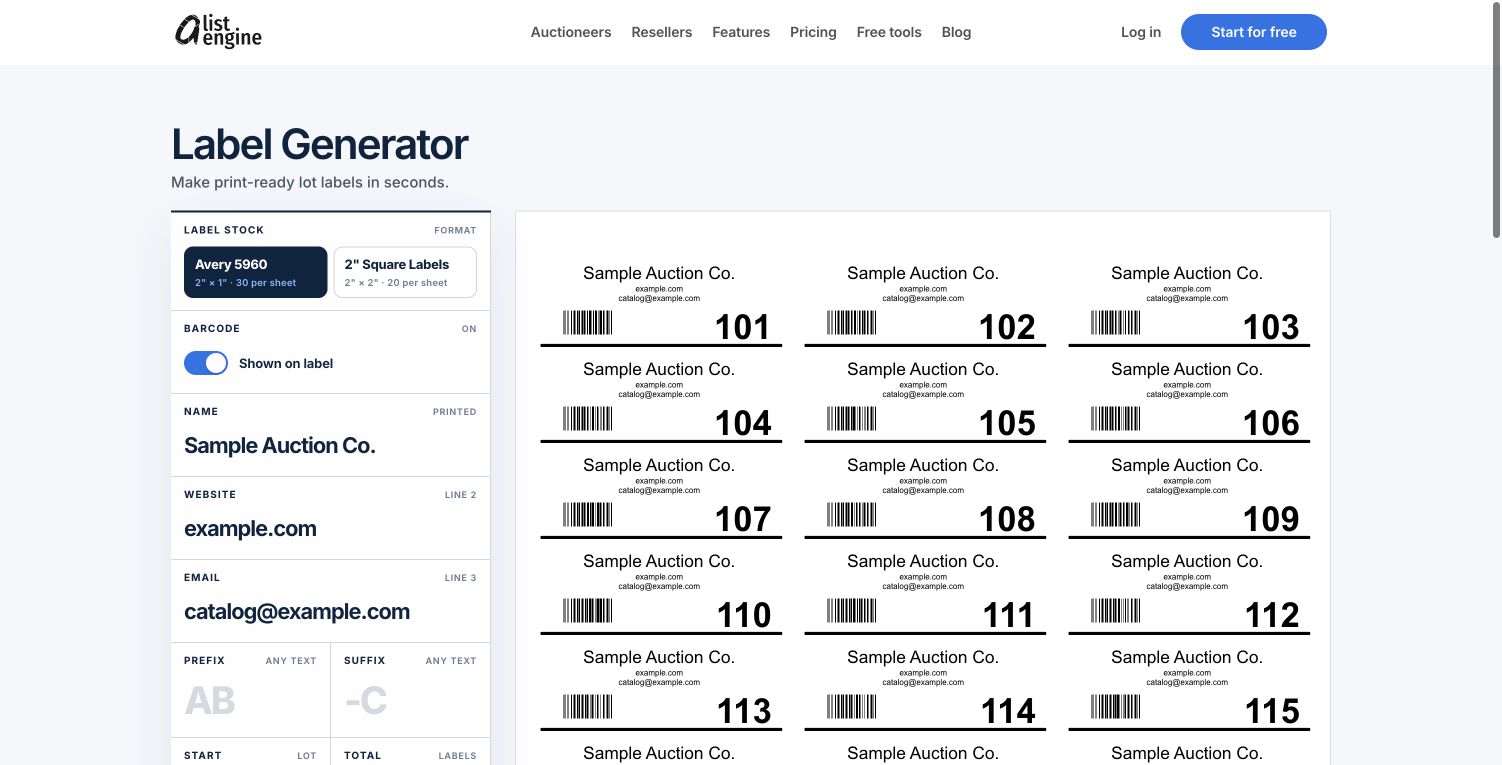
The generator offers Avery 5960, with 30 labels per sheet, and 2” Square Labels, with 20 labels per sheet. Both use US Letter paper.
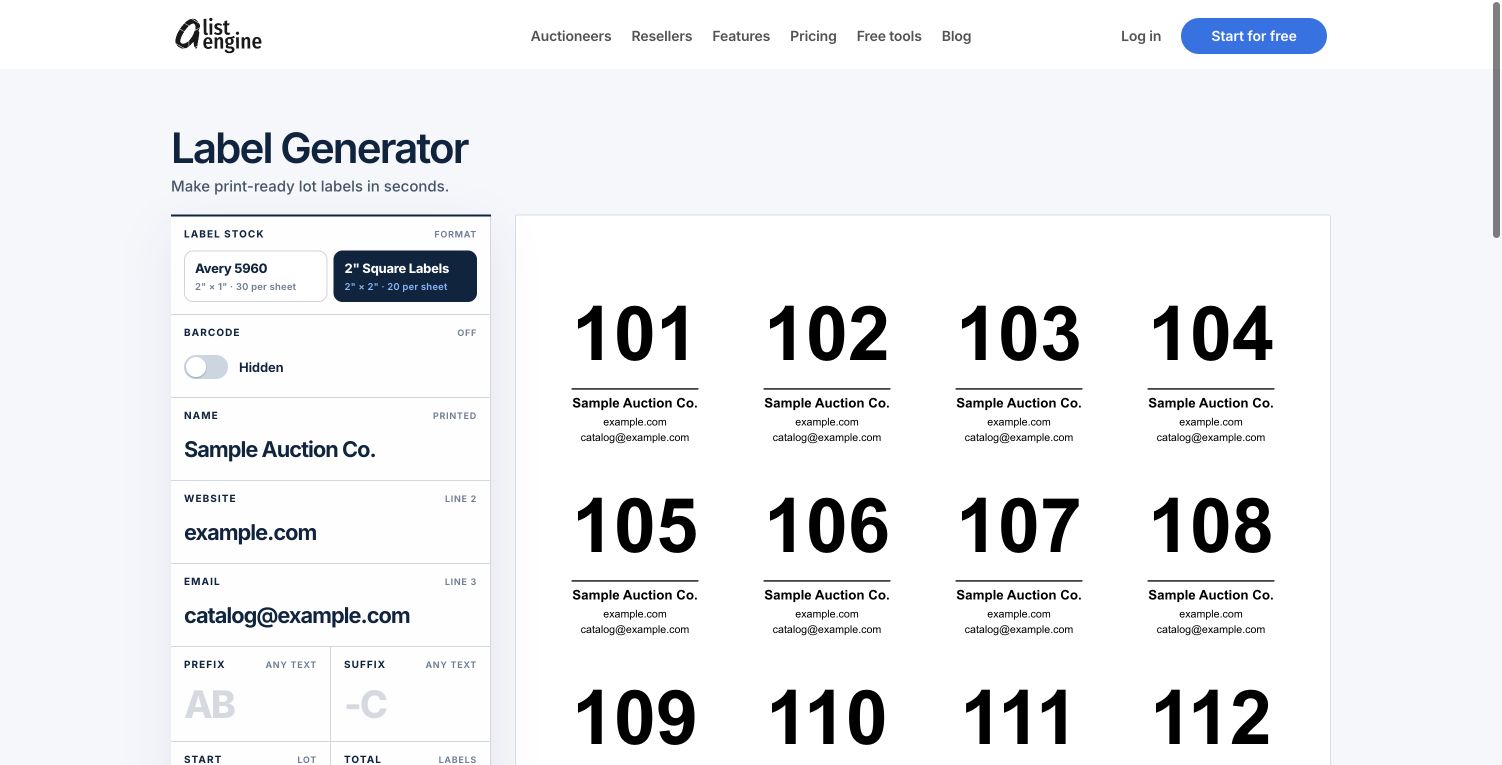
Choose the layout that matches the label sheets you have.
Check the package before printing. Avery lists 5960 labels as 1 × 2⅝ inches. If you use square labels, make sure the margins and spacing match the sheet you bought.
2. Enter the auction details
Add the public Name, Website, and Email you want bidders or staff to see. Watch the preview when using a long business name.
Avoid printing consignor phone numbers, private notes, or internal customer details on labels that may appear in catalog photos.
3. Choose the number range
Enter the first lot number in Start and the number of labels in Total.
| Field | Example | Result |
|---|---|---|
| Start | 101 | First label is 101 |
| Total | 30 | Last label is 130 |
Total means how many labels you need. It does not mean the last lot number.
If your sale uses letters before or after the number, add them in Prefix or Suffix. For example, a prefix of A- makes lot 101 appear as A-101. Use the same number in the catalog, on the physical lot, and in the photo workflow.
The generator makes numbers in order and supports up to 1,500 labels in one run. For a larger sale, start a second run after the last number from the first.
4. Decide whether to use barcodes
Turn Barcode on when your crew scans labels during photography or inventory work. If you change the label format, check this setting again.
Print a small test and scan it with the device your crew will use. Long lot numbers, poor print quality, glare, and camera distance can affect scanning.
5. Download and print
Check the first and last numbers in the preview. Then choose PDF to download the file.
Print one test page on plain paper before using label stock. In the print window:
- Select US Letter paper.
- Choose Actual size or 100%.
- Turn off headers and footers.
- Do not use “Fit to page.”
Place the paper test over an unused label sheet and hold them up to the light. Check the top, middle, and bottom rows. If the printing slowly drifts out of place, recheck the paper size and scale.
The generator starts at the first position on a sheet. It does not skip used labels on a partly used sheet.
6. Keep labels with the correct items
Attach each label to the item, tray, box, or a safe tag. Do not put adhesive directly on a delicate finish or collectible surface.
For a grouped lot, make it clear which items belong together. When using a label to separate photo groups, photograph the label clearly, then photograph the full lot. Check the scanned number before creating listings.
Common questions
Can I print one replacement label?
Yes. Enter the needed number in Start and set Total to 1.
Can I upload a list with missing numbers?
The tool makes a number range in order. Use separate runs for gaps or replacements.
Can I print on A4 paper?
These layouts are made for US Letter sheets. Scaling to A4 can move the printing away from the labels.
Make labels before the photo session
Create your auction lot labels, test one sheet, and give each photographer the correct number range. Then use aListEngine for auctioneers to carry those lot numbers through photos, descriptions, and export.