
How to Turn Hundreds of Auction Photos into Individual Lots
Organize auction photos, mark where each lot begins, and create individual drafts ready for review.
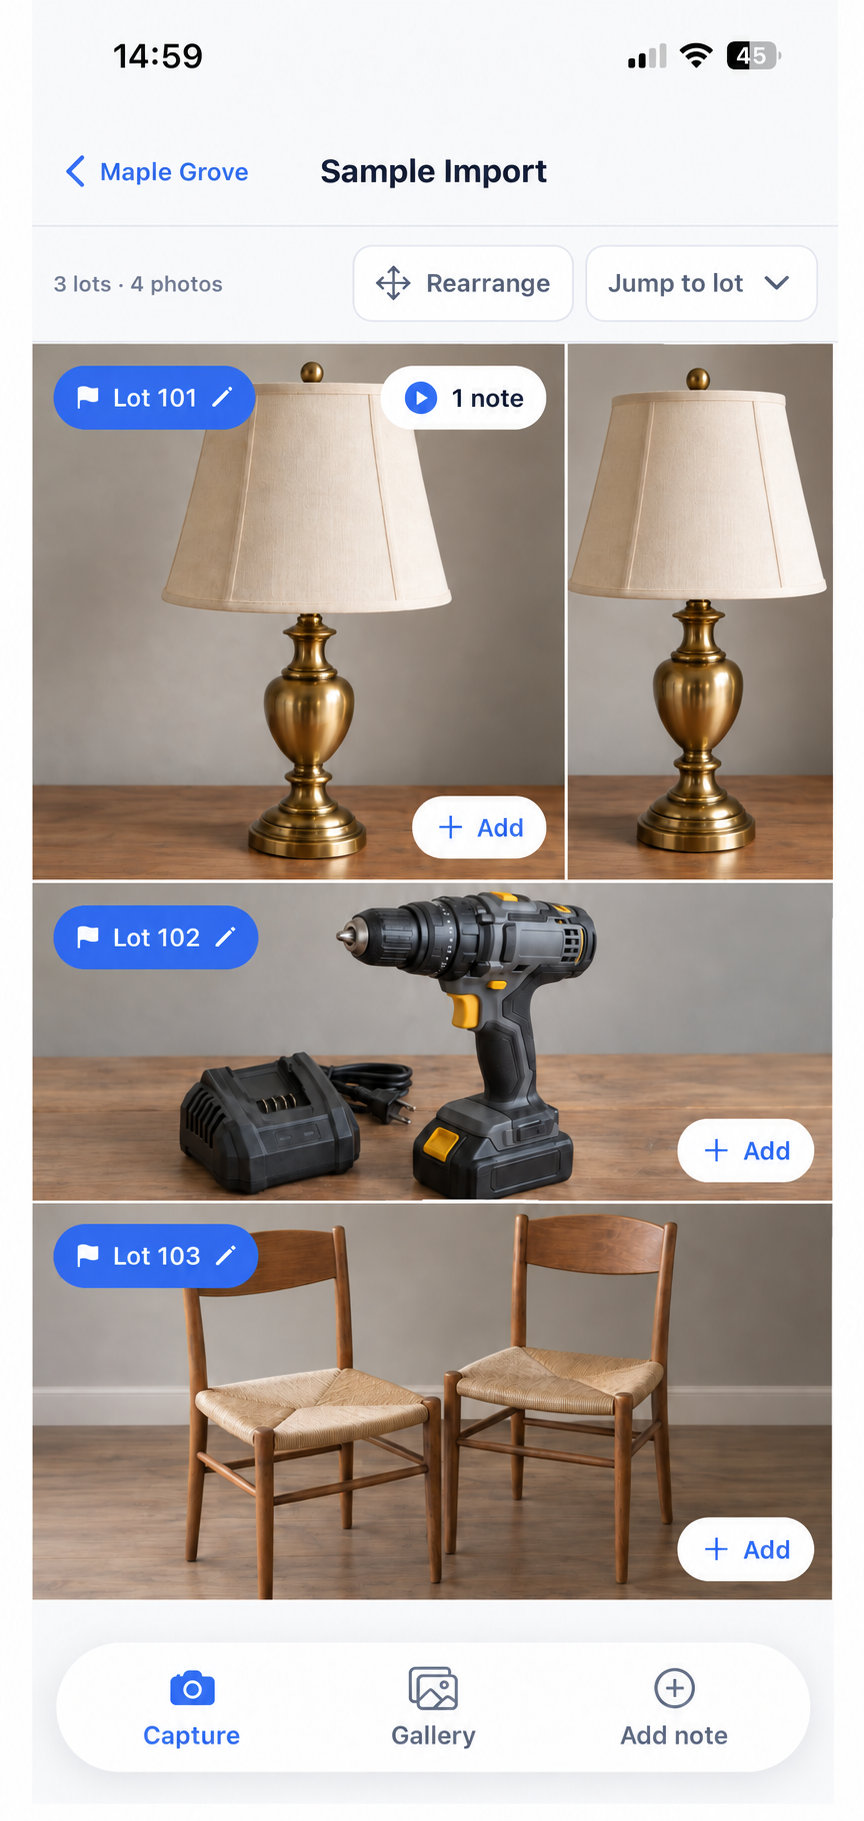
In this article
The easiest way to handle a large batch of auction photos is to put them in order, mark where each lot begins, and check the groups before creating listings. Get this part right first. Even a strong description cannot fix a drill photo placed in a lamp lot.
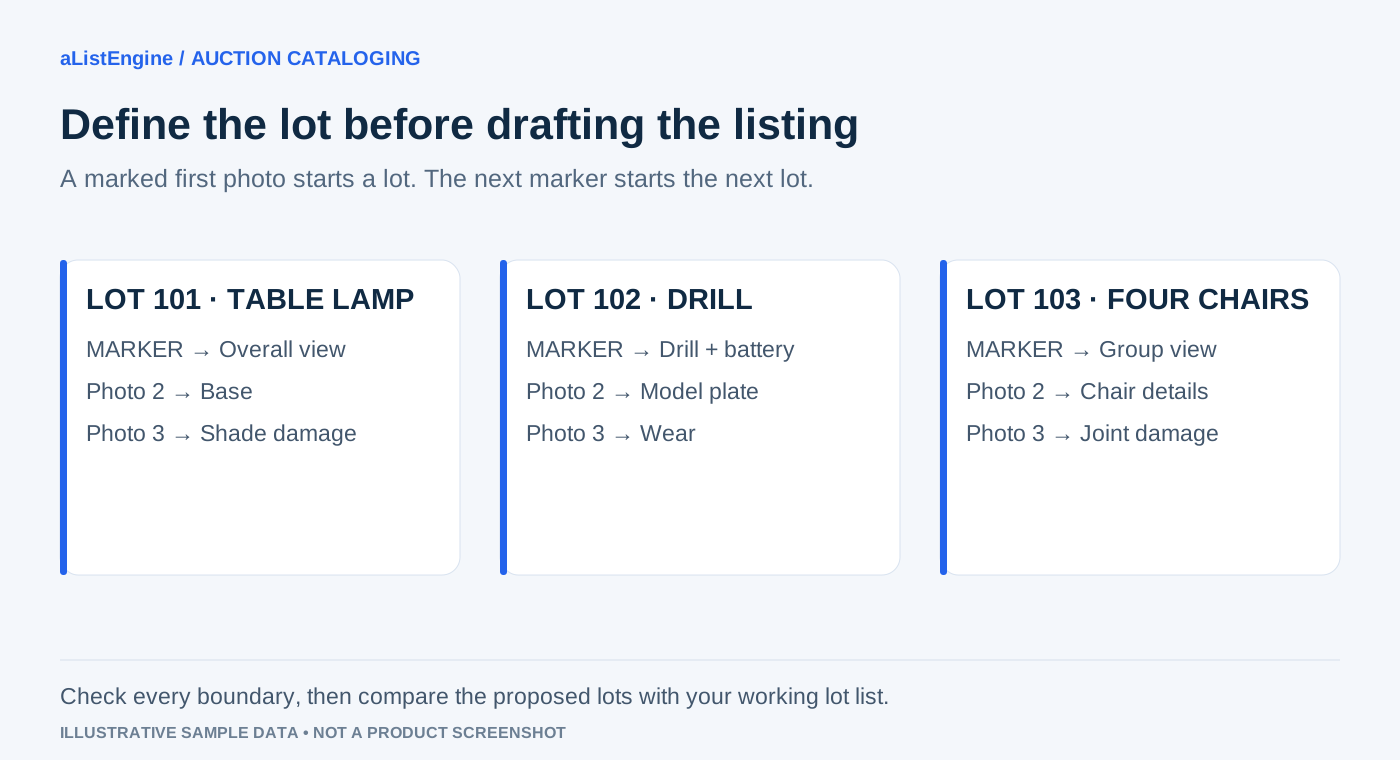
Mark the first photo of each lot and keep the supporting photos together.
1. Decide what belongs in each lot
Before uploading, decide what the bidder will buy. Is the pair of chairs one lot or two? Does the drill include the battery and charger? Write down the lot numbers and selling units before the photo session becomes busy.
| Lot | Selling unit | Useful photos |
|---|---|---|
| 101 | Brass-tone table lamp | Overall and alternate view |
| 102 | Drill, battery, and charger | Full group, labels, and wear |
| 103 | Pair of dining chairs | Both chairs, seats, joints, and wear |
2. Upload to the correct sale folder
Open the folder for the sale and choose Bulk Import. Add the photos and wait until the full batch appears. To return to a saved batch, choose Imports in the sidebar, select the import, then choose Open in full page. If two photographers are working, give each person a different number range, such as 101–150 and 151–200.
Compare the number of uploaded photos with the number you expected. A missing detail photo is easier to find now than after listings have been created.
3. Put the photos in order
Use Reorder photos when the batch is out of sequence. You can sort by capture date, filename, or upload order. Choose the option that matches the way your crew worked, then look through the result.
Watch the places where one item changes to the next. If you see lamp, lamp, drill, lamp, move that last lamp photo back with the lamp before marking lots.
4. Mark the first photo of every lot
Select Mark on the first photo of each lot and enter its lot number. All photos after that marker stay with the lot until the next marker.
If you photographed barcode labels, use Scan Barcodes, then check every number. A product barcode on the item can be mistaken for your lot label, so review the result.
A label photo can help separate lots, but it may not belong in the bidder-facing listing. Keep a clear overall item photo as the lead image. You can make numbered markers with the free lot label generator.
5. Review the groups before creating drafts
Open Lot Groups and check each lot. Confirm the number, first image, and supporting images. Pay special attention to chair pairs, tool sets, and box lots.
For the three lots in this guide, expect two lamp photos in 101, the drill set in 102, and the pair of chairs in 103. That is three lots from four photos. Additional detail photos should stay in the same groups.
Choose Separate Lots when the groups look right. Read any warning about repeated lot numbers or photos before the first marker. If two different items accidentally share lot 102, correct the number before continuing.
When the summary matches your sale, choose Split to Drafts.
6. Check the new listings
Open the drafts and confirm the lot numbers and photos once more. Remember that the number of photos is not the number of lots.
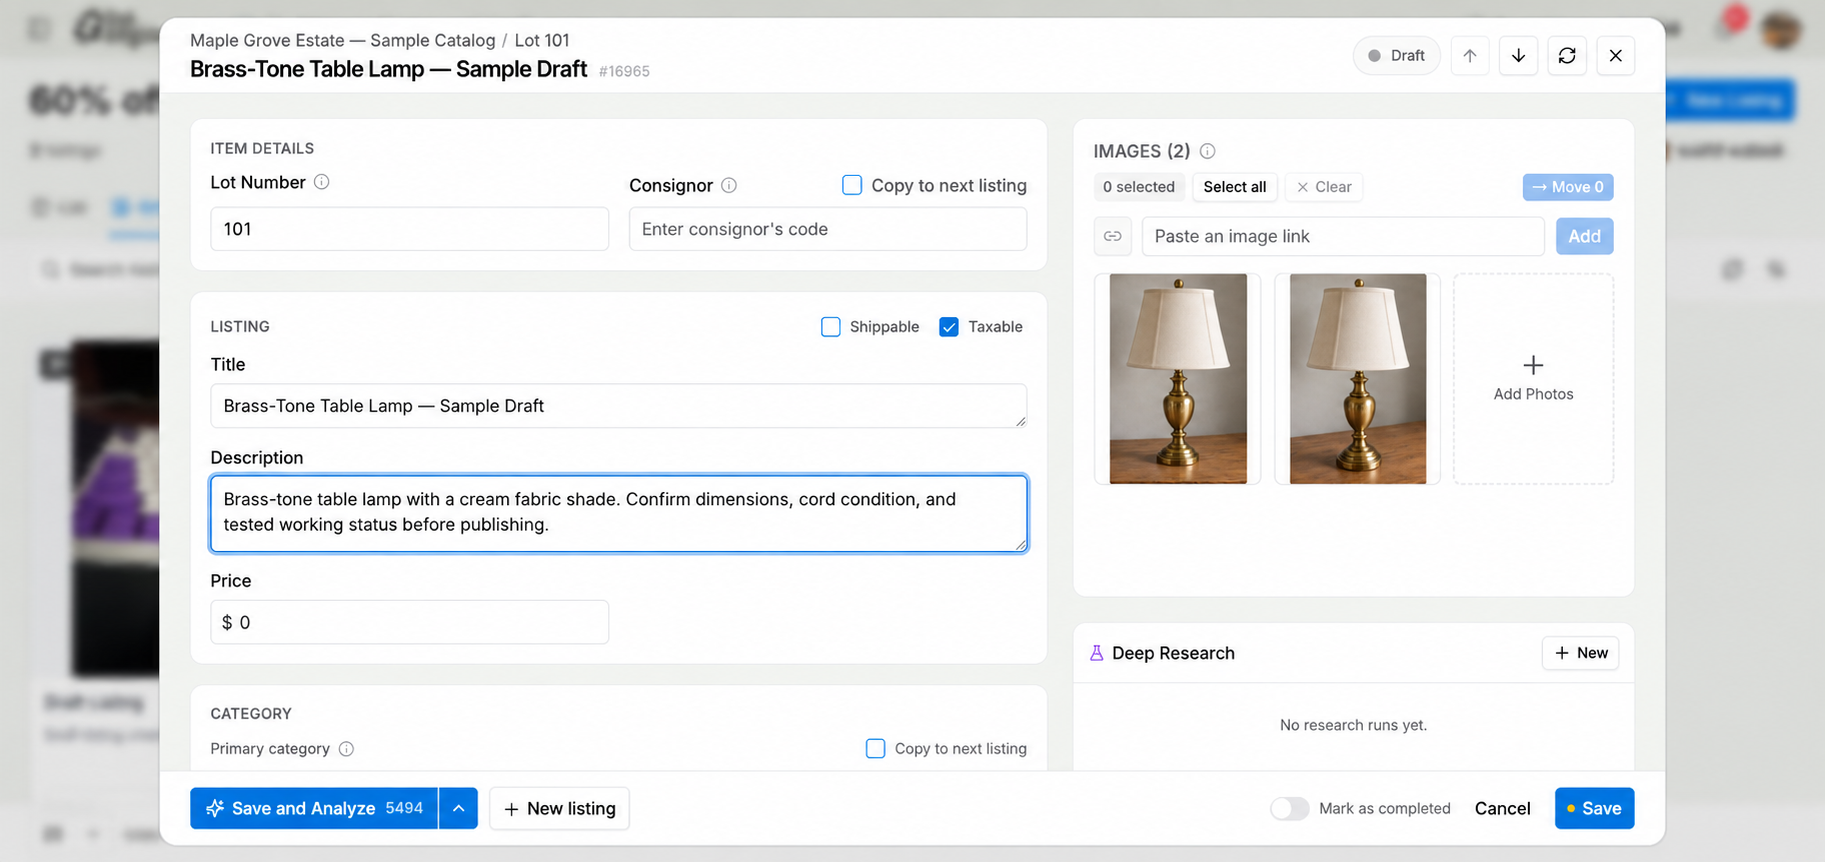
Check the photos, title, and description together.
Check the first and last lot in every batch. Then review the titles, descriptions, condition notes, and included items before export.
Common questions
Do I need to rename every photo?
No. Markers can separate an ordered batch without renaming every file. Clear filenames can still make sorting easier.
Does AI choose which photos belong together?
Your photo order and lot markers create the groups. Check them before generating descriptions.
Should I process the entire sale at once?
Start with a few lots. Once the order and numbering look right, continue with a room, table, or photographer’s batch that your team can review comfortably.
Try a small batch first
Use one lamp, one tool lot, and one grouped lot to practice. See aListEngine for auctioneers to connect photo grouping with editable listings and platform exports.